Log in or sign up. It's FREE!
Blog entries tagged as "inspiration"
-
Bronze Age -Metallic Wedding Inspiration
Take a trip back to the Bronze Age and create a metallic bronze and gold leaf palette for your wedding decor.
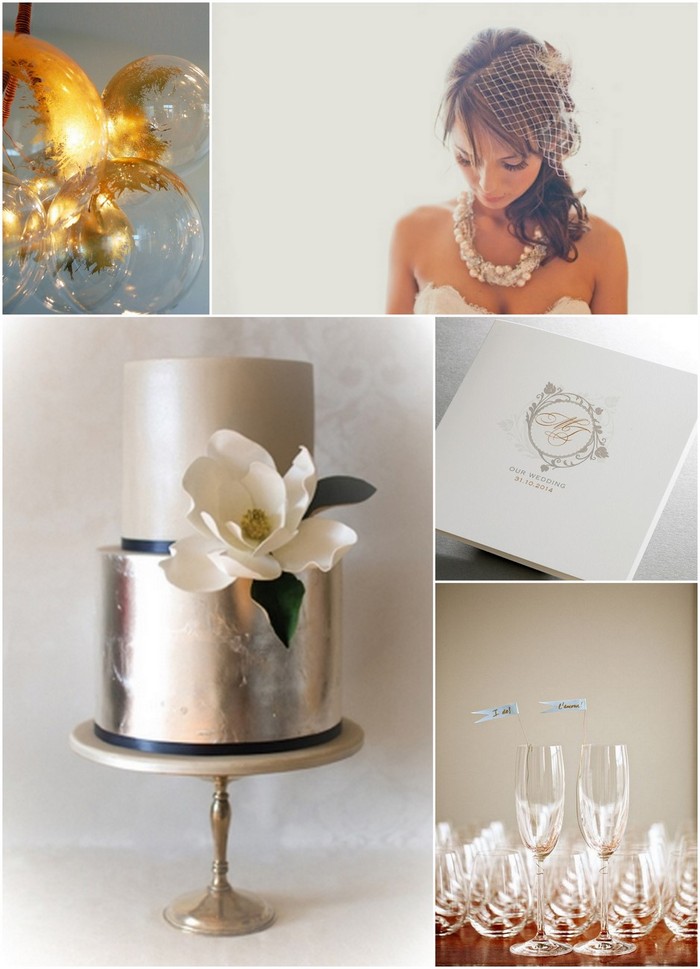
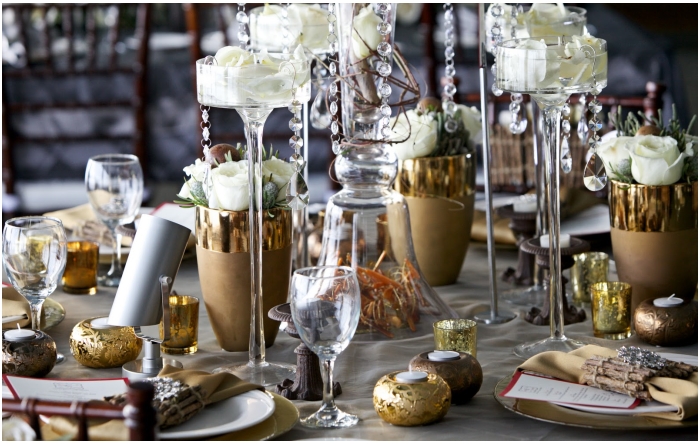
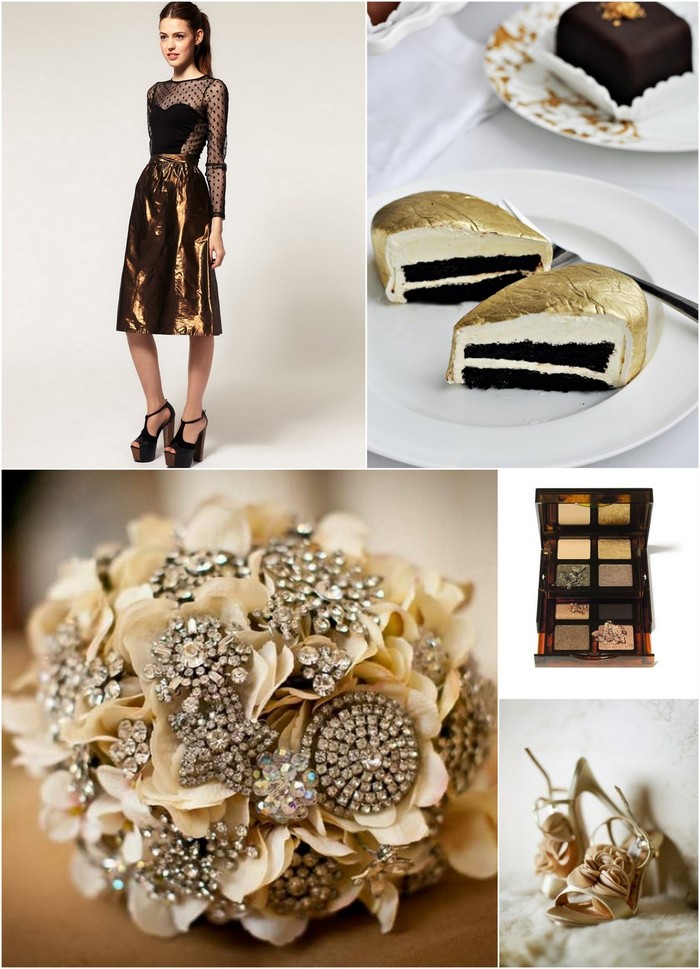
Metallic provides the perfect amount of glamour and edge to a very classic style, but as with most bold colour, prints, or fabrics, don't overdo it! Treat your metallics like you would animal prints; a little goes a long way. Also, as with animal prints, it's okay to mix two or three colours. Try a palette of gold, silver and bronze (a nod to this year's Olympics, if you are the sporty type?!), using off white or cream as your anchor.
Credits: Gold Bauble Chandelier by JeanPelle.com via Crafties | Bride image by Jasmine Star | Vintage Initials Invitation by Finer Details | Champagne Glasses image via StyleMePretty | Table Setting by Little Flower Shop | Cake image via OneWed | Eye Palette by Bobbi Brown | Shoes by Badgely Mischka, image by Tec Petaja | Brooch Bouquet via The Wedding Party Studio | Skirt, Asos.com | Metallic Cake image via Belle the Magazine |
Related Content

-
"Dancin' out on 7th street...�
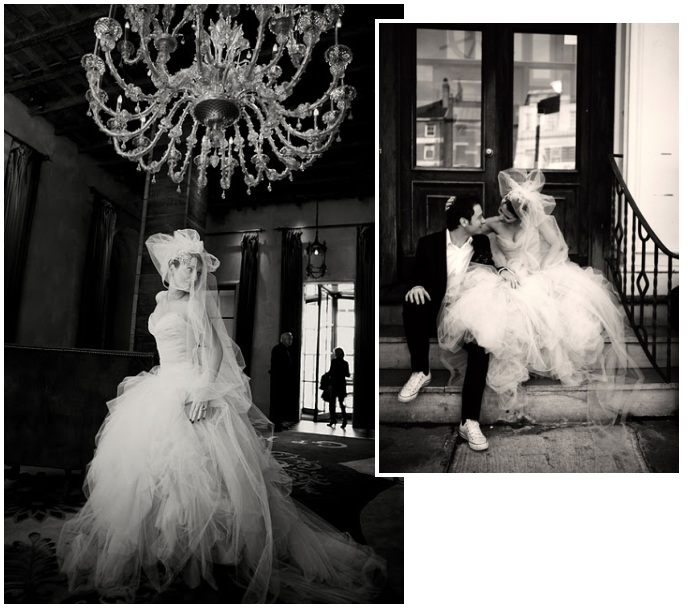
...Dancin' through the underground
Dancin' little marionette
Are you happy now?
Where do you go when you're lonely
Where do you go when you're blue
Where do you go when you're lonely
I'll follow you
When the stars go blue"
-Ryan Adams, When the Stars go Blue
Photos by Belathee PhotographyHave a happy Halloween weekend all x

-
"Whenever I'm alone with you...
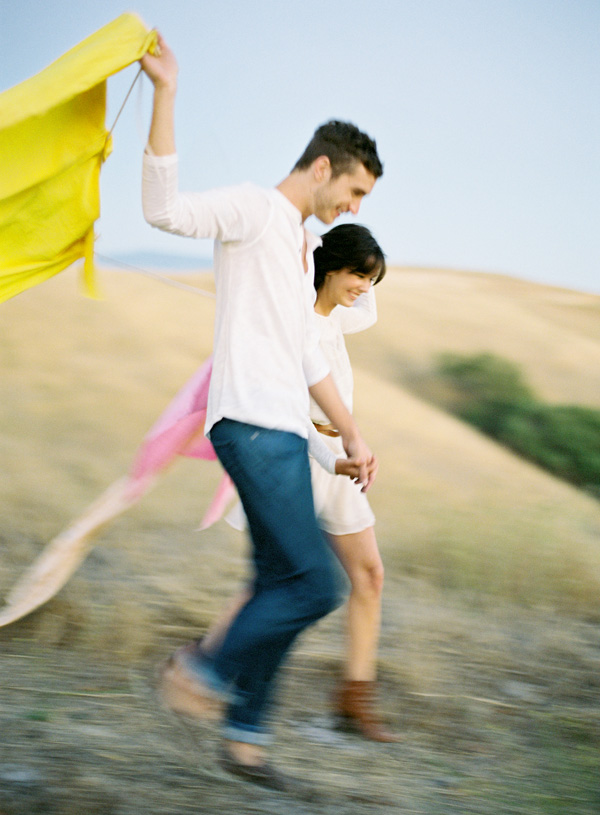
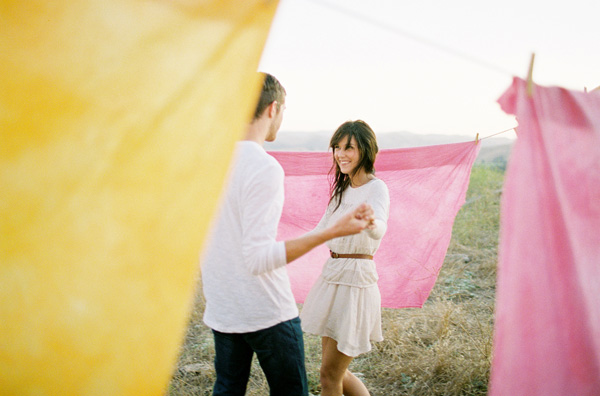
...you make me feel like I am young again."
-The Cure, Lovesong
Photo by Jose VillaHave a beautiful weekend. x

-
Rainbow Colour Palette

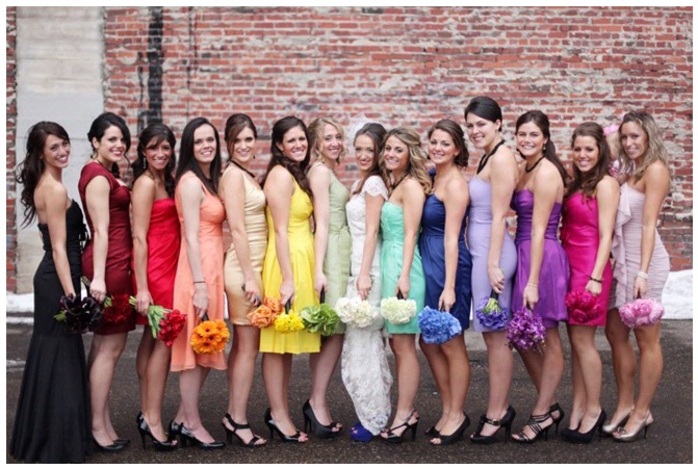
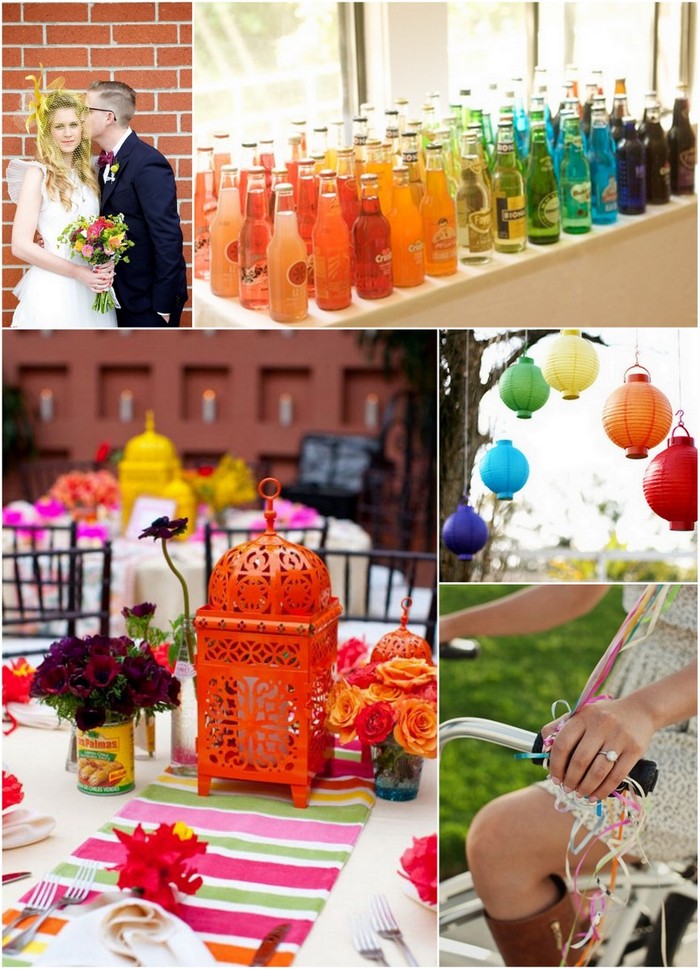
The WeddingsOnline girls are in sunny spirits this afternoon (look at that blue sky!) so we thought a little colourful palette would be a nice addition to the today's blog posts! If you are having a pre-wedding shoot with your photographer, colourful balloons are a gorgeous way to add some sparkle to your images, and will give you something to play with if you're feeling a little shy. For your wedding, a rainbow palette is easy to build on as you don't need to make sure you have all the same shades between your bridesmaid dresses, flowers and stationery, so there's less pressure in planning and more fun!Credits: Flowers image via BeforetheBigDay / Shoes image via Weddings.co.nz / Bike image by En Pointe Photography / Bridesmaids via WeddingbyColour / Bottles image via OhHappyDay / Lanterns via EnjoyWeddingNow / Bike image by En Pointe Photography / Table image via MyItalianWeddingBlog / Couple image by Chad Cress / Cake image by Three Nails Photography
Compiled by Karen Birney
Related Content

-
"At my most beautiful...
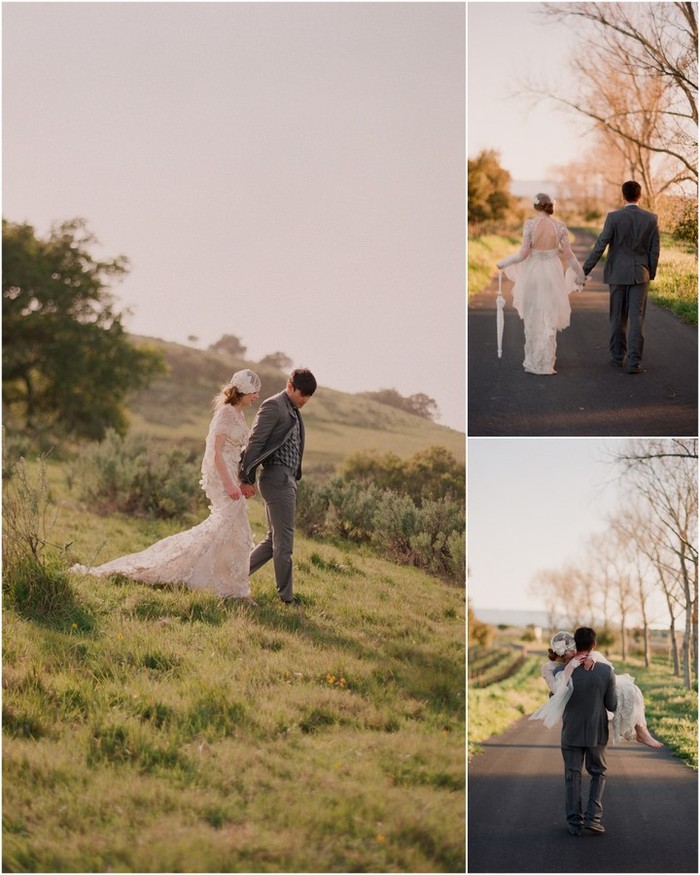
...I count your eyelashes, secretly."
-REM, At My Most Beautiful
Photo by Elizabeth MessinaJoin us on Facebook and tell us your first dance song. Happy Friday x

-
DIY Weddings: Papel Picado Flags
A cute and easy DIY project to create your very own Papel Picado flags. Hang them in the church or drape them around you reception room to help add a splash of colour to your big day.

Materials
� Various colours of tissue paper - maybe in your wedding colour theme
� Double sided tape or glue
� Scissors
� Ribbon
� Paper for template
Step-by-step
1. Fold paper for the template into 1/6s length-wise. Once paper is in 1/2, fold it into 1/3s.
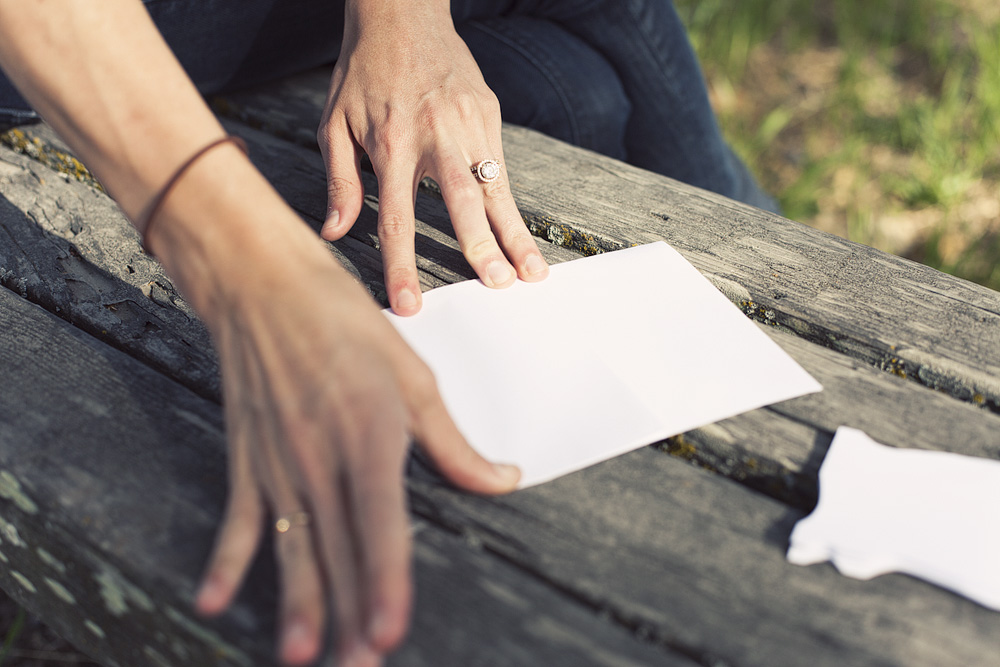
2. Cut small shapes along the folded sides of the template.
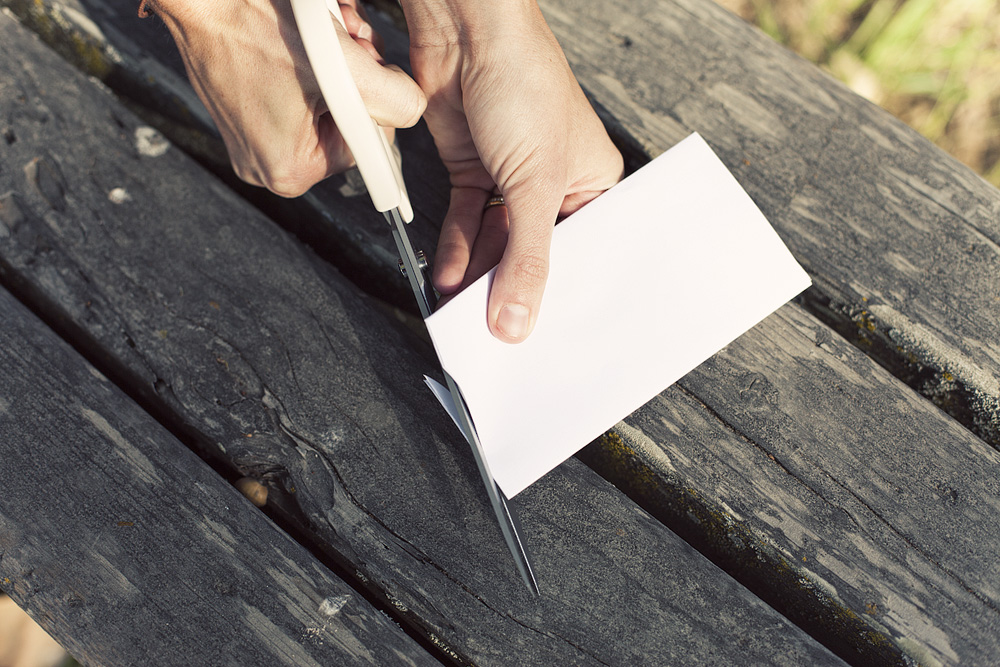
3. Open to see if you like the pattern.
4. Then lay the template over the tissue paper, which should be folded in the exact same way the template is.
5. Cut the tissue in the same pattern as the template.
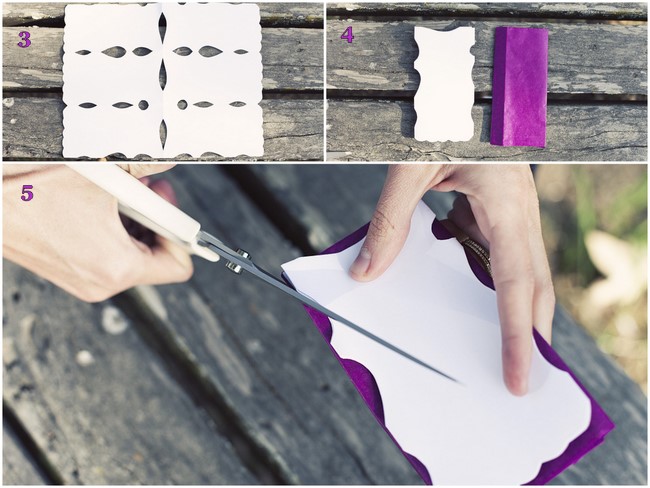
6. Unfold and repeat in the same way for other colours of tissue.
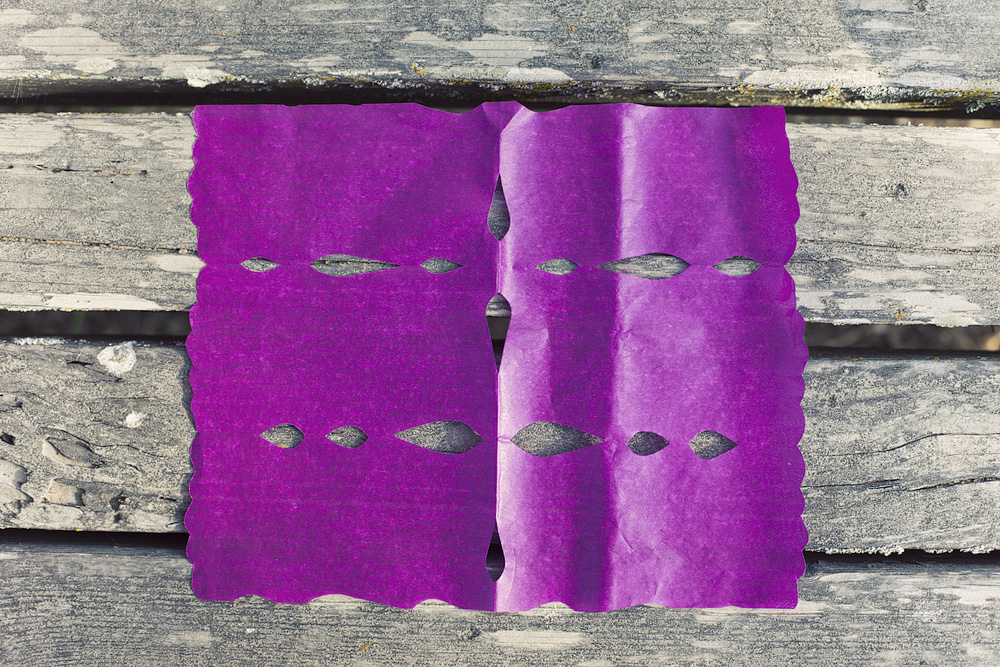
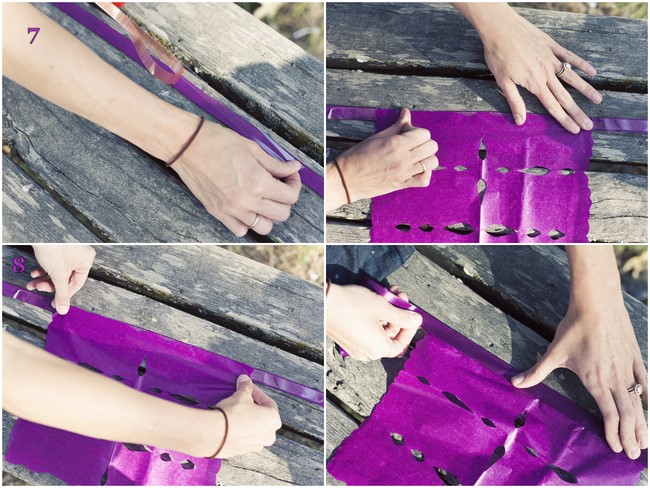
7. Lay ribbon out and stick different colour tissue flags side-by-side on the ribbon with the double sided tape or glue. Leave about enough space either side so the banner can be tied up.
8. Stick another piece of ribbon to the front side of the banner.
9. Now hang it up and stand back to admire all your 'hard' work!
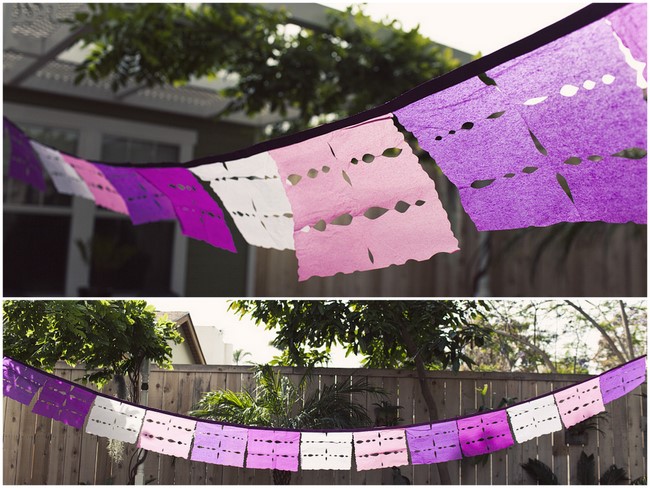
As seen on GreenWeddingShoes.com. Images by Katherine Elizabeth Photography.
Related Content

-
Unlikely Inspiration
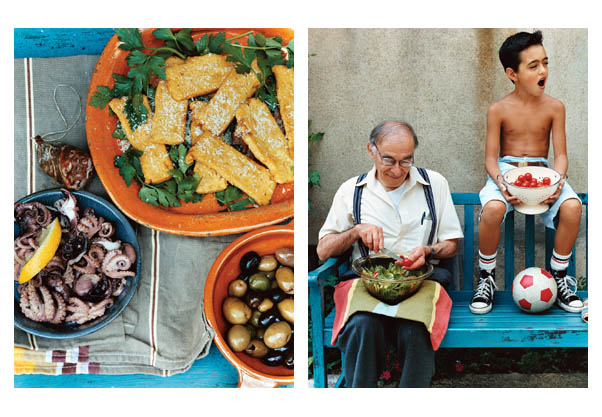
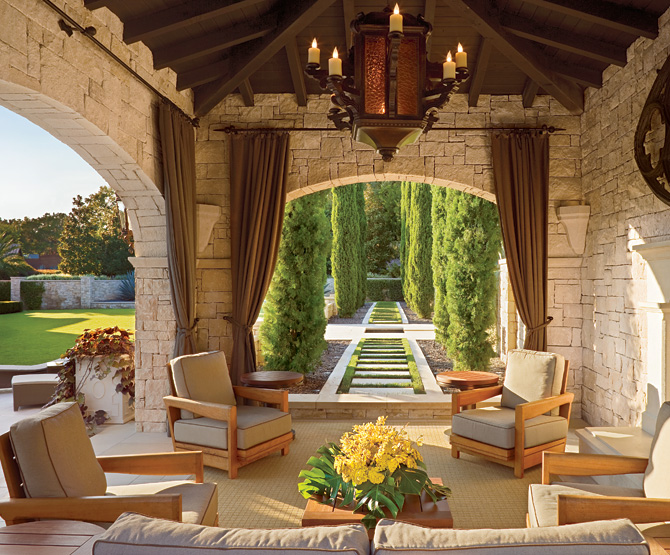
Sometimes the best ideas come from outside where you are looking. I gathered a couple images that have inspired me to think beyond my wedding for my wedding...The first image is from a Martha Stewart blog, called Bluelines. The 2nd image is by the talented Rebecca Thuss , 3rd, 4th and 5th images are from Architectual Digest.
Categories
Archive
- July 2012
- June 2012
- May 2012
- April 2012
- March 2012
- February 2012
- January 2012
- December 2011
- November 2011
- October 2011
- September 2011
- August 2011
- July 2011
- June 2011
- May 2011
- April 2011
- March 2011
- January 2011
- December 2010
- November 2010
- October 2010
- September 2010
- August 2010
- July 2010
- June 2010
- May 2010
- April 2010
- March 2010
- February 2010
- January 2010
- December 2009
- November 2009
- October 2009
- September 2009
- August 2009
- July 2009
- June 2009
- May 2009
- April 2009
- March 2009
- October 2008
- September 2008
- May 2008
- March 2008
- July 2007
- November 2005
- October 2005
- March 2003

